A wedding camera activity works only when guests can see what to do and where the camera goes afterward. A camera beside the centerpiece is not enough; the activity needs a clear prompt, an easy handoff, and a return point.
A planned disposable camera activity connects table placement, short prompts, memory stations, collection labels, and post-event processing without turning the wedding into a complicated game.
Give each table or zone one purpose, one visible instruction, and one named return route.
The activity should feel effortless during the wedding because the instructions, roles, and handoff were settled before venue setup.
Build Each Guest Table Around One Clear Assignment
Guest tables are useful because the activity begins inside an existing social group. People already know who sits nearby, so the first photograph feels less awkward. The table still needs a defined purpose, since an open request to “take wedding photos” often produces repeated group poses.
A family table may document several generations and reactions during speeches. A table of close friends may focus on laughter, outfit details, and the move toward the dance floor. Colleague tables usually work better with broad prompts that do not rely on private stories.
Place the camera beside something guests already notice, such as the table number, menu stand, or a small raised tray. Check the position after the full place setting is in place so flowers, bottles, shared dishes, and glassware do not hide the instructions.
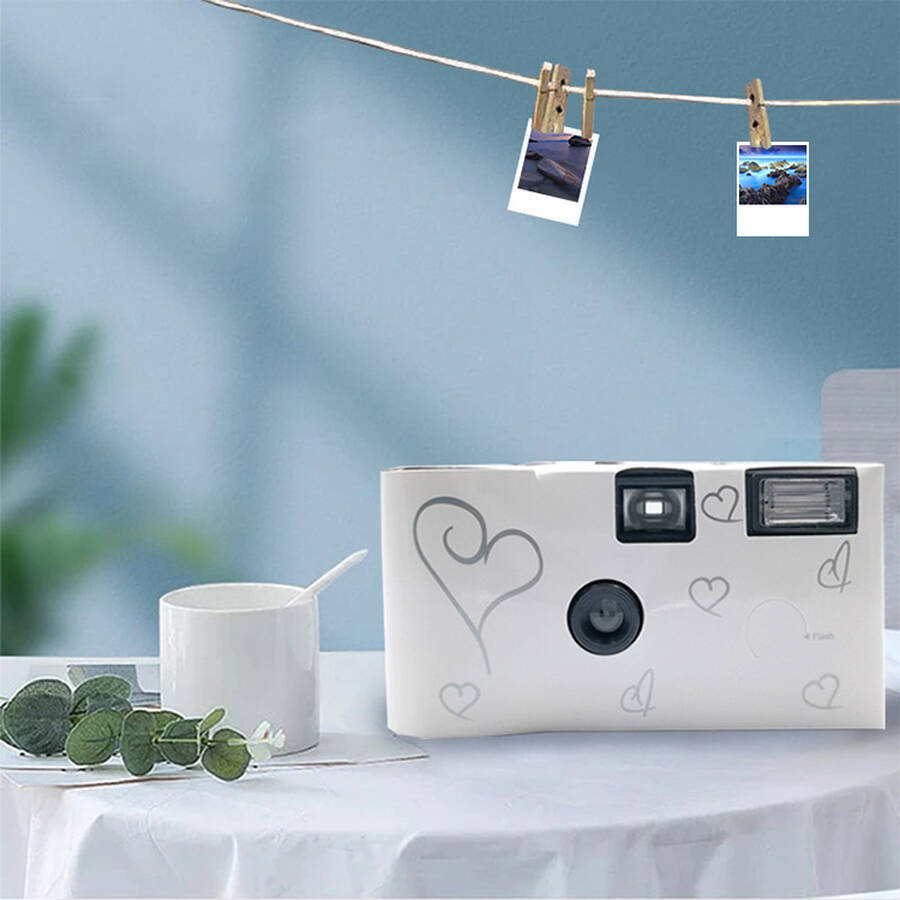
Keep the lens, viewfinder, shutter, flash area, and winding controls clear, with enough space for candles and table service.
Match the placement to the table shape
A compact round table can usually share one activity point. Long banquet tables often work better with two smaller points so the camera does not stall halfway down the table.
Keep head-table and family-table cameras away from speeches, flowers, shared dishes, and service items. A side tray gives access without making the activity the visual focus.
| Table format | Practical position | Useful assignment | Return role |
|---|---|---|---|
| Round reception table | Beside the table number or on a small tray | One group, one reaction, one detail | One informal table lead |
| Long banquet table | Two activity points or one nearby station | Left side, right side, room view | Two section contacts |
| Head or family table | Side tray away from service items | Speeches, expressions, family exchanges | Wedding-party contact |
| Children’s table | Supervised side station | Colors, flowers, shoes, smiles | Named adult supervisor |
Write a card that takes less than ten seconds to understand
A useful card answers three things quickly: what to capture, how much participation is expected, and where the camera returns. For example: “Capture one group portrait, one candid reaction, and one meaningful detail. Return the camera to the memory station before leaving.”
Use clear type and strong contrast. Decorative script can carry names or a heading, but working instructions should remain easy to read under reception lighting.
Shared story: “Capture the group, one reaction, and one small detail from this table.”
Table viewpoint: “Show the celebration from this table, including one view across the room.”
Memory prompt: “Photograph a person or detail connected with a favorite memory, then add a short note at the station.”
Give one informal table lead a simple job: take the first photo, pass the camera on, and return it near dessert or the end of speeches. In a large room, one section lead can cover several tables using a floor plan and short code list.
Create Photo Challenges That Follow the Wedding
The best photo challenges point toward something already happening. They do not need scoring or prizes; a short prompt simply helps guests notice moments they might otherwise miss.
Use a small mix of people, details, emotion, movement, and behind-the-scenes scenes, with only one or two prompt groups assigned to each location.
Use visible, inclusive subjects: generations, old friends, family groups, or guests meeting for the first time. Keep the wording light and leave room to decline; “Capture a cheerful group” works better than a prompt built around embarrassment or unwanted contact.
Details give context between portraits: invitations, menus, flowers, place cards, outfits, food, lighting, or a table before and after dinner. “Find a detail that defines the celebration” invites observation without sounding promotional.
Joy, laughter, surprise, and speech reactions can be meaningful without asking guests to search for vulnerability. Different tables can cover different viewpoints so one person is not surrounded by cameras.
- A full-table portrait
- The best laugh at the table
- A toast in progress
- A meaningful place-card detail
- A speech reaction
- Several generations together
- Two people meeting for the first time
- The final table photograph before dancing
- The first group on the dance floor
- A favorite-song reaction
- Friends entering the floor together
- A dance circle
- A lawn game in progress
- A creative venue view
- A quiet moment beside the music
- The last dance of the evening
Near music and movement, keep the prompt to one line and avoid alcohol challenges, stunts, or embarrassing tasks. A visible subject and direct action are enough.
Public setup moments can add context, but dressing rooms, makeup areas, service zones, and private conversations stay outside the activity unless permission is clear.
Give the Memory Station and Each Activity Zone a Separate Role
A memory station works best when one action leads: invite participation, collect written memories, or receive completed cameras. The same rule applies across the venue—different zones should add different parts of the wedding story rather than repeat one challenge everywhere.
Display fresh cameras, short prompts, and one clear explanation near the entrance or guest-book area.
Use message cards, album themes, or simple codes to connect photographs with stories.
Make the collection box and return wording more visible than the decorative objects around them.
Choose one dominant function for the station
Decide whether the station mainly invites participation, connects photographs with written memories, or receives completed cameras. Make that action visually dominant with a short line such as “Capture a Memory,” “Add a Story,” or “Return Cameras Here.”
Connect photographs with written messages
Message cards can ask for a favorite memory, future wish, or short story. A matching table, zone, or theme code lets the processed photograph reconnect with that note later.
Also state clearly that the images require later processing so guests do not confuse the setup with an instant-photo system.
Useful themes include family, friends, details, speeches, dancing, outdoor scenes, and quiet moments. A short word, icon, or color can represent each theme. The same label can continue into collection and file organization.
Color should not carry the full meaning. Low light, printing differences, and accessibility needs can reduce clarity. A written label keeps the system understandable under more conditions.
Use the pre-ceremony period for arrivals, family greetings, venue details, and quiet anticipation, then collect the camera before seating begins so the activity does not spill into the aisle or ceremony flow.
Cocktail and welcome spaces suit relaxed groups, first meetings, drinks, and venue views. A named host keeps one roaming camera moving and can adapt the return point if indoor and outdoor zones change.
Keep the camera on a stable tray outside the main movement line and let one host pass it between groups. Close the activity before late-night handling becomes careless, then switch the sign from invitation to return.
Outdoor stations need protection from wind, sprinklers, pools, wet bars, sand, food, and heat. A covered attended point is safer than leaving a camera on open furniture; prompts can shift from scenery in daylight to people and lighting later.
Related table pieces and participation materials can be reviewed within the events and occasions collection. Each added item should solve a visible need within the event route rather than simply fill the display.
Plan Collection and Processing Before Venue Setup
Collection starts before the first camera reaches a table. Give every unit a short code, an expected location, a return point, and a named owner for the handoff.
Create codes that still make sense after the wedding
Use short codes tied to a table, zone, event day, or prompt theme: T07 for table seven or D02 for the second dance-floor camera. Keep the same code on the camera, master list, and processing brief.
For multi-day weddings, add a day marker so welcome dinner, ceremony day, and farewell events do not merge into one anonymous batch.
Build a master list that can travel with the project
The master list should connect each code with its planned location and record whether the camera was returned, moved, partly used, damaged, or left unopened. Keep one printed copy for venue checks and one digital copy with the project lead.
Use natural checkpoints such as the end of speeches, dessert, dinner close, or a room change. Compare returned codes with the master list while the relevant tables or zones are still easy to trace, and bring roaming or outdoor cameras back earlier when needed.
Separate completed, partly used, and unused cameras
Use three clearly labeled containers. Completed cameras enter the processing batch, unused stock stays separate, and partly used cameras receive a visible status label.
Decide in advance whether partly used units will be processed as they are or finished with approved neutral subjects such as venue details. Do not open or alter camera bodies at the venue.
Prepare a processing brief before the event
The handoff should include the camera batch, master list, event date, project contact, requested output, and privacy instructions. If scans are required, define a simple folder structure by event day, zone, or table code.
Confirm requirements for negatives, prints, scans, timing, and available formats with the selected processing service before the event.
Transport packaging should protect the batch from crushing, moisture, and uncontrolled heat while preserving code order.
Review privacy before wider sharing
Guest-led photography produces candid images, so decide who may view, store, share, and archive the results before processing. A short courtesy reminder can appear on the activity card or station sign.
Start with private review rather than immediate public access, especially for photographs involving children or sensitive moments. The project record should also state who keeps negatives and how long working files remain available.
Use Packaging and Signage to Support the Activity
Packaging should organize the activity as well as present it. Let the cover carry the event identity, cards explain participation, return labels close the route, and outer cartons support setup and transport.
Keep the cover focused on one main message
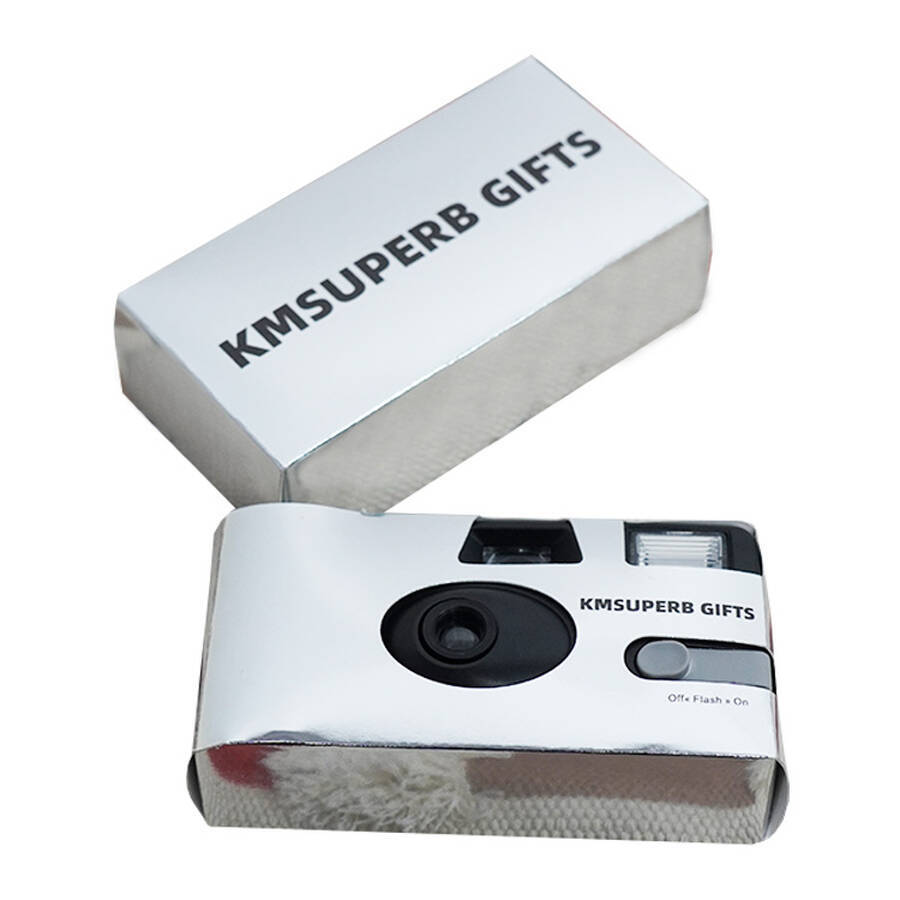
A personalized cover can carry names, initials, a date, approved artwork, a short activity line, or a unit code, but one message should remain dominant. Put longer prompts and return instructions on a separate card.
Keep artwork clear of the lens, viewfinder, flash, shutter, winding controls, and counter, and review small type and fine lines at final print size.
Dinner, dance, outdoor, and children’s areas may need different instructions, but the visual system can stay consistent. Lead with the action, follow with the prompt, and end with the return point.
“Return Cameras Here” should be the most visible message. Add the event name, date, or zone code when multiple functions share the venue, and make sure the opening fits the packaged camera.
Use one approved copy sheet for event names, dates, capitalization, punctuation, and code formats across covers, cards, boxes, and transport cartons.
Pack in the order used at the venue
Pack by table or zone so cameras, cards, and labels for one area stay together. A pack list should show carton number, zone, camera codes, card and sign quantities, and return materials.
Keep spare cards, backup labels, and replacement cameras in a clearly marked backup pack rather than mixing them into the main setup sequence.
Product-selection questions that sit outside the activity workflow can be reviewed in the wedding camera planning guide. Keeping that decision separate avoids repeating film, flash, and quantity guidance in this activity-focused article.
Prepare the inquiry around the event route
A useful inquiry starts with the event flow: where cameras will sit, how they will move, who will collect them, and which packaging pieces are needed. Then add artwork files, approved names and dates, color references, quantities, destination, and required arrival date.
Production and delivery planning depend on the selected product, quantity, customization, packaging, approval process, and destination.
Mistakes that weaken an otherwise good activity
Wedding Camera Activity FAQ
Where should wedding cameras be placed?
Useful locations include guest tables, welcome areas, memory stations, outdoor lounges, and a supervised point near the dance floor. Each location needs visible instructions and a clear return route.
Placement should not block table service, venue access, or décor. Every position should be checked after the full setup appears.
Which photo challenges are easiest to follow?
Visible subjects work best, including a group portrait, a toast, a meaningful detail, a joyful reaction, or a dance scene. Three to six prompts are enough for one location.
Different areas can use different prompt groups. Dinner tables may focus on people and details, while active zones can focus on movement.
How should used cameras be collected and labeled?
Each unit should receive a short table, zone, day, or theme code before setup. The same code should appear on the master collection list.
Collection should happen during planned transitions. Completed, partly used, and unused cameras should remain separate before processing.
Can personalized covers and instruction cards support the activity?
Personalized covers can carry names, dates, approved artwork, a short prompt, or a unit code. Separate cards can explain the activity and return point without overcrowding the camera.
Final options depend on the selected product, quantity, customization, packaging, and destination. Proof review should confirm readability and operating clearance.
What information should be shared before planning begins?
The project brief should include quantity, logo file, target use or event, packaging, destination, and required arrival date. Guest count, table count, activity zones, and collection method also matter.
Approved wording, event dates, color references, artwork files, packing order, and processing expectations help align the complete program.
Share the Wedding Flow, Artwork, Packaging, and Delivery Requirements
A complete disposable camera project should connect the event flow with the cover, instruction cards, return labels, packing sequence, collection route, and processing handoff.
Include quantity, logo file, target use or event, packaging, destination, required arrival date, guest count, table count, activity areas, prompt-card needs, and collection method.
Send the Wedding Activity Brief